Curved Pieceing
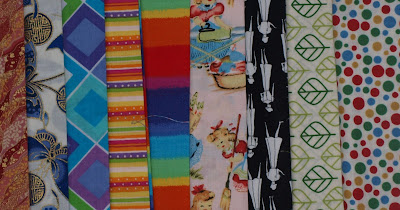
These are the materials I have come up with...It didn't use much to make the block so now I have to decide how much to send on with the quilt and what to keep back for finishing it off when I get it back...might have to ask the others for their opinions. 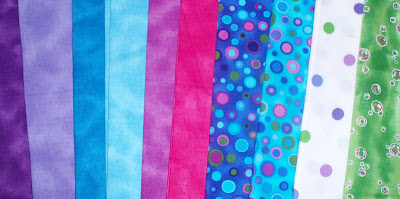
And then the fun began...also some unpicking but not too much. I've decided I'm not very good at curved piecing...but I still have lots to do so I might get better....maybe?!?!
Pieces cut out...layed out to see how they look...

In pieces...starting to take shape
The first finished block...


Here are the rest of the pieces cut out ready to join...after this picture was taken, I tried to sew piece number 8 on....I then realised that I'd cut them out backwards....the template must have been flipped over but I didn't realise cause an 8 is an 8 backwards too!! So I had to trace and cut the pale blue circles again...bummer
This is two finished triangles sewen together

And then the fun began...also some unpicking but not too much. I've decided I'm not very good at curved piecing...but I still have lots to do so I might get better....maybe?!?!
Pieces cut out...layed out to see how they look...


In pieces...starting to take shape

The first finished block...


Here are the rest of the pieces cut out ready to join...after this picture was taken, I tried to sew piece number 8 on....I then realised that I'd cut them out backwards....the template must have been flipped over but I didn't realise cause an 8 is an 8 backwards too!! So I had to trace and cut the pale blue circles again...bummer

This is two finished triangles sewen together


Comments