Making Bias Binding
I haven't made any bias tape in ages but it was fun! I can't show you the finished article til after the Birthday party on Saturday! Still a few more things to make before then...hopefully MIL will come to the rescue and watch Aden for a while!
First I fold the fabric strip in half and press it. I find this helps me mark the middle when sliding it through to make the tape even.
Then slide the fabric through the bias maker and press the ends very well...and watch your fingers if the steam is turned on!

Slide the bias maker backwards a little at a time and lift and press the iron to the fabric. I find this better than sliding the iron as sometimes the fabric can move while your sliding the iron and by lifting and pressing you can check it as you go. Don't slide the bias maker too far ahead as it will unfold quickly and but you can always reverse it back up!

Then when the tape is made I fold it and half and re-iron the middle crease making it easier to have a line/fold to help as a guide when attaching the bias tape!

Do you buy pre-made bias tape or do you make your own... I know Corrie makes hers
What size to you cut your fabric strips for the bigger bias maker?? These ones were 2 7/8 inches for future reference... I think 3 inches would work fine too.
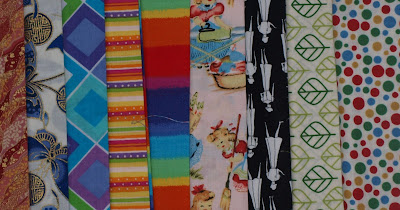
Sneak Peeks!

Made using Michael Miller's Gabriella
NOTE TO SELF....wash the ironing board cover and wipe the dust off the iron!
First I fold the fabric strip in half and press it. I find this helps me mark the middle when sliding it through to make the tape even.

Then slide the fabric through the bias maker and press the ends very well...and watch your fingers if the steam is turned on!

Slide the bias maker backwards a little at a time and lift and press the iron to the fabric. I find this better than sliding the iron as sometimes the fabric can move while your sliding the iron and by lifting and pressing you can check it as you go. Don't slide the bias maker too far ahead as it will unfold quickly and but you can always reverse it back up!

Then when the tape is made I fold it and half and re-iron the middle crease making it easier to have a line/fold to help as a guide when attaching the bias tape!

Do you buy pre-made bias tape or do you make your own... I know Corrie makes hers
What size to you cut your fabric strips for the bigger bias maker?? These ones were 2 7/8 inches for future reference... I think 3 inches would work fine too.
Sneak Peeks!


Made using Michael Miller's Gabriella
NOTE TO SELF....wash the ironing board cover and wipe the dust off the iron!


Comments